|
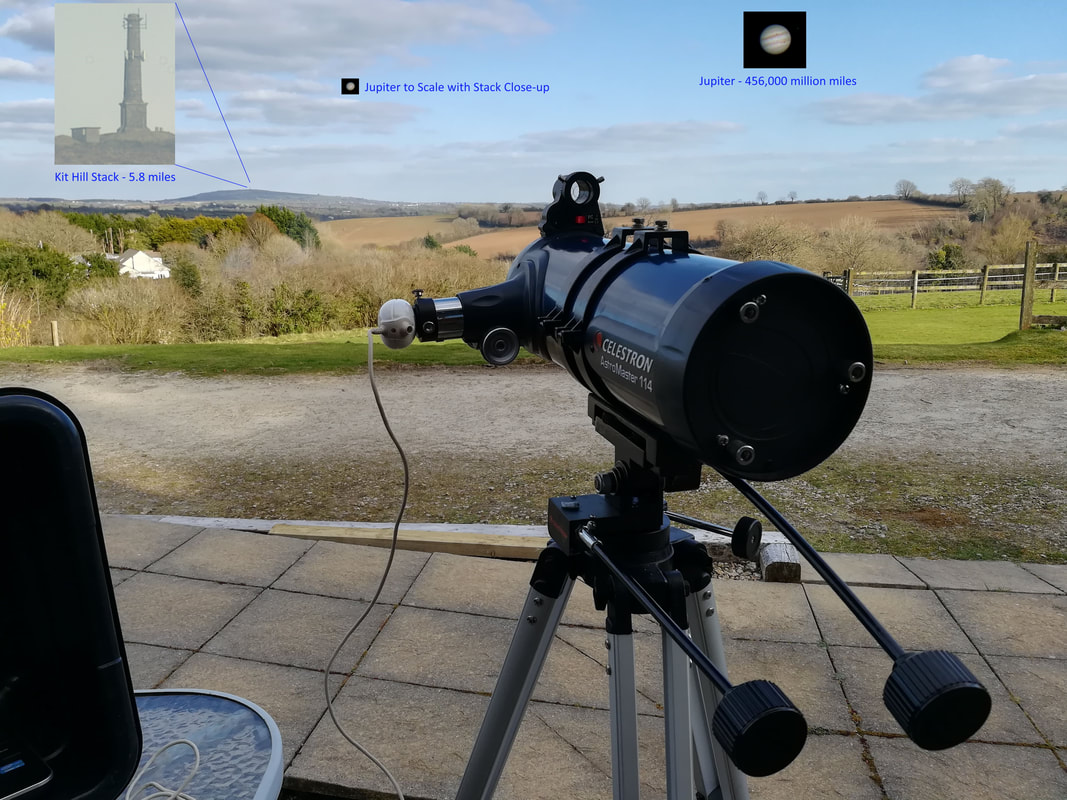
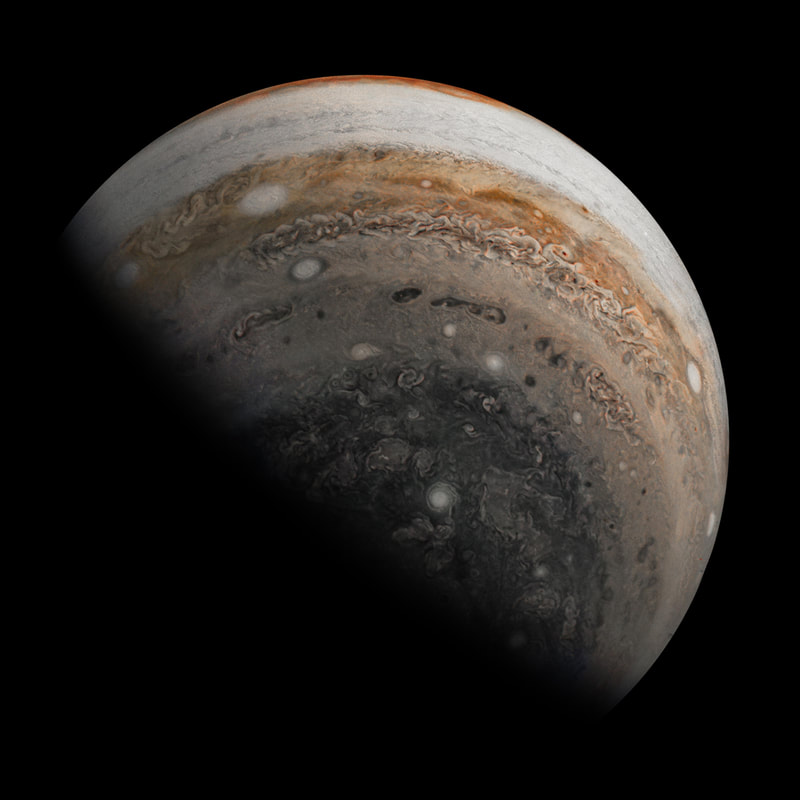
Here's a view of the Kit Hill chimney stack taken from almost 6 miles away, taken with a cheap telescope and an old webcam. On the whole it's a fair representation of what can be seen through the eyepiece. Colours are a little washed out because Kit Hill was in shadow but it's just possible to make out people walking around the stack. However, the static image doesn't show the 'heat haze' effect caused by moving currents of air, the eyepiece view isn't as sharp. Jupiter has been pasted in at the same image scale as the close up. Jupiter's apparent size varies depending on where it and Earth are in their orbits around the Sun. Even at its closest approach (628 million kilometres) Jupiter's angular size is only 50 arc-seconds or 0.014 degrees. Photographing Jupiter is like taking a picture of a 5 pence piece from 320 feet away. (But while high magnification is required to see the planets, some nebulae cover surprisingly large patches of sky.) 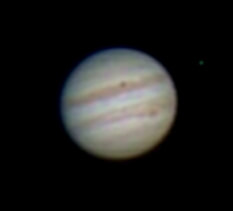 The full-size image of Jupiter shows more detail. The major cloud bands are visible and the great red spot, a giant storm at least 300 years old, is at lower right. The dark mark is the shadow of one of Jupiter's moons. This image was taken using a different telescope, a 5" refractor, and a 4x magnifying Barlow lens. This combination gives about 3.6 times the magnification of the telescope in the top image, when used with the same camera. To image the planets and Moon amateurs use a technique called 'lucky imaging', to overcome distortion caused by atmospheric turbulence. A short video is taken of the target and the clearest frames are selected and combined using free stacking software, such as Registax. For an example of amateur planetary imaging at its best I'd recommend taking a look at Damien Peach's website. Professional planetary imagers such as NASA either use the Hubble Space Telescope or simply park a spacecraft in orbit around their target, options beyond the budget of most amateurs. The Juno probe is currently at Jupiter and returning spectacular images. Going back to the telescope in the first image, a Celestron Astromaster 114, is not one I'd recommend. The telescope itself is useful but it's let down by the mount and finder, making it a frustrating business to find objects in the sky. Small Dobsonian telescopes are often recommend for people starting out in astronomy due to their low cost, ease of use and light grasp. They are a type of Newtonian telescope which use a mirror to gather and focus light. Compared to a pair of binoculars they are more stable and produce a brighter image. There are even cardboard self-assembly versions available.
0 Comments
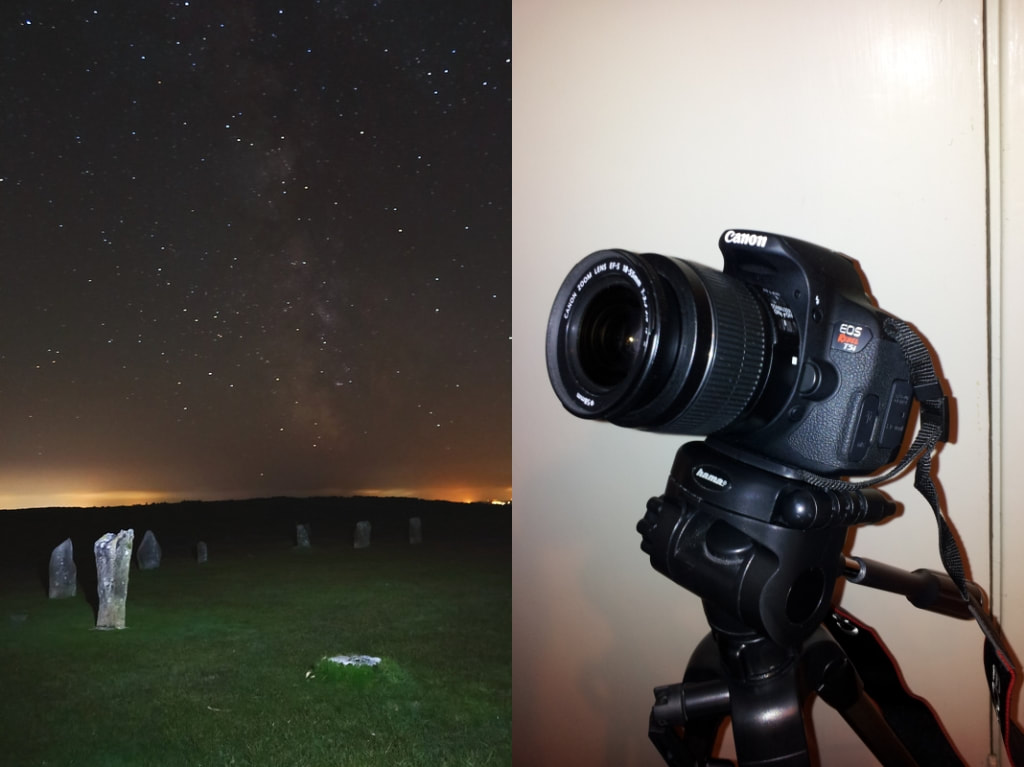
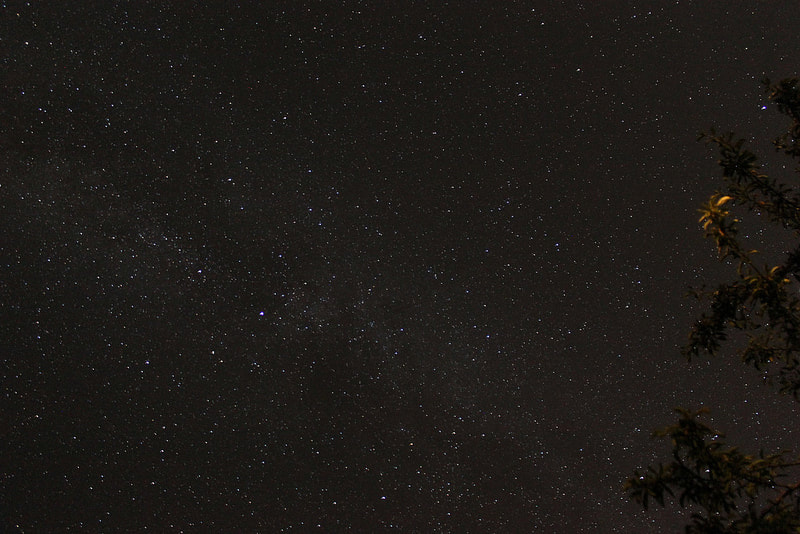
Kit lenses, commonly bundled with DSLR cameras, offer a natural entry point into astrophotography due to availability and their wide field of view, allowing reasonable exposure times from a fixed tripod. The major difficulties for first time users are finding the correct camera settings and focusing on infinity. This guide offers a few tips based on my own experiences and blunders. This was one of my first attempts at shooting the Milky Way, taken on holiday in Menorca. I didn’t have a tripod with me so I simply laid the camera down on the patio, pointing straight up. It’s a 30 second exposure at 18mm focal length, giving the widest field of view. To capture as much light as possible the camera iris was opened fully, giving a focal ratio of f3.5.
Camera and Lens Settings It’s worth experimenting with these settings before heading out, to help avoid the frustration of fighting the camera in the dark. Aperture When shooting from a fixed tripod it’s important to gather as much light as possible. Typically this means shooting with the lens wide open by selecting the lowest aperture setting available. ... |
Archives
May 2020
Categories
All
|
 RSS Feed